Silk is a wonderful fiber, lustrous, incredibly strong, and one of the most dye-receptive fabrics in the world. It's also made, not from a plant, but from the cocoon of a silkworm, hoping to turn into a moth.
These cocoons unravel into yards and yards of fine filaments of silk ready to be spun.
Here's our little friend chowing down on a mulberry leaf.
That little creature produces threads that are dyed then turned into yarns and fabric, often woven into saris in India.
I am at the other end of that long chain of production. All I did was buy a fairly inexpensive bundle of leftover silk ends from the looms that make the sari cloth. They came to me looking like this:
I sorted them into colour ranges then carefully dampened and ironed each strip.
Next I got a packet of paper backed fusible sheets and laid out the strips of silk on them.
When the sheet was covered I fused the silk strips with a hot iron to the backing and removed the paper so the back side could be fused to another piece of fabric.
Another colour variation:
At this point the prep work is done and the sheets of silk are ready to be stitched, embroidered, beaded, and cut.
Here are a few pieces that I have embellished. I basically do running stitches, french knots, lazy daisies, blanket stitches, cross stitches, whip stitches, and any other stitches that I remember from my crafty background. I love being completely improvisational in this part.
I have made a few wrist cuff. This shows the various stages, from cutting the silk strips to stitching, to embroidering and beading.
I have cut some pieces into leaf shapes and stitched them on wool for later projects.
I have used whole fused strips as a background, as in this small skull for a Day of the Dead work. The skull was hand carved on a lino block and printed onto linen, then stitched and beaded.
A finished cuff:
This will be stuffed and made into an art doll.
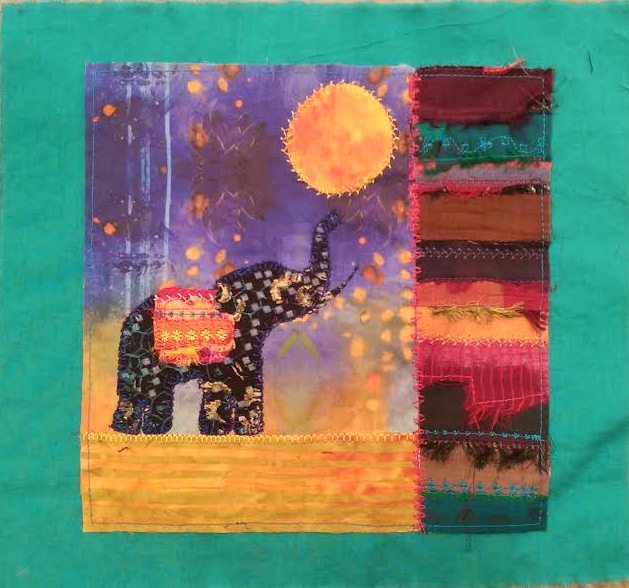
Sometimes just a strip adds colour and energy to a small artwork (still in progress).
My big project from all these strips is a wall hanging I have created for the Buddy Holly Center's Day of the Dead exhibit, Celebracion. It is 19" x 23" and is called Healing Heart. It will be in a show going up next week and hanging through November. The pink section on the left is from a jacket I made in 1989 and cut up for re-purposing. I also used some brocaded silk trim that was given to me in the 1970's by Glenn's grandmother. Never throw silk away!
When do I have time to do all this hand embroidery and beadwork? Why when I'm sitting on the couch in the evening, watching Miss Fisher's Murder Mysteries. The perfect backdrop to these gorgeous colours. I mean, have you seen her wardrobe?