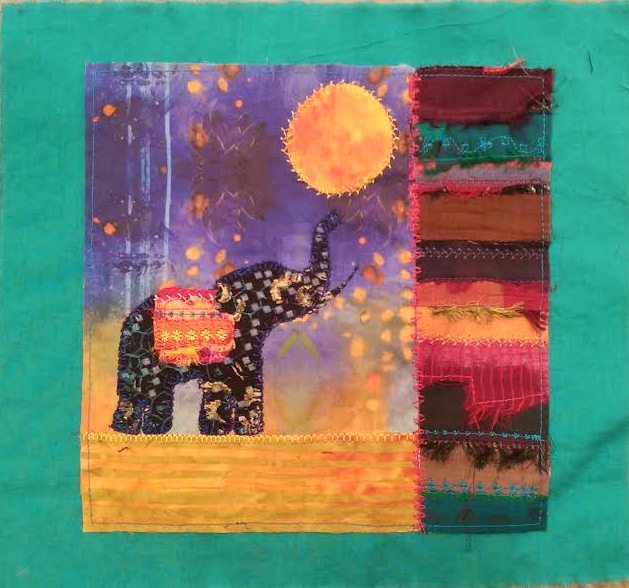
Be Delighted

"Oh my my my my, what an eager little mind!"

Auntie Mame

Wednesday, February 3, 2016

At the Pace of a Snail

I once dashed off a watercolour painting of a fox in about half an hour.

  And of course the standard response when someone asks how long an artwork took, is: "Oh about 45 years and a college tuition." In truth, it's not how long something takes that determines whether it is good or not, although I'll give points to Gothic cathedrals and pyramids taking a few lifetimes (and a few lives) to finish. Some great works are dashed off in minutes while a painting that took weeks or months may turn out to be a disaster. (I've wasted gallons of expensive paints on those turkeys, then eventually painted over them)
      But there is a process in fiber arts called Slow Stitch. The philosophy is to patiently and meditatively work by hand to create layers and layers of detailed stitched textures on cloth, much as countless anonymous artisans have done over the centuries, embellishing clothing, tapestries, and furniture. Embellishing by hand is something no machine can do, even a souped up $5000 Bernina sewing machine, programmed to mimic hand embroidery or quilting. There is nothing wrong with using a beast like that to great advantage, as many award winning quilters do, but there is something to be said for the human touch.
     I am impatient with my paintings, but very patient with my quilting and embroidery. It allows me to slow down, to enter a different state of mind, to be calm and reflective. Many times I will use machine stitching to assemble the basic fabric pieces of my work, and to stitch down fused fabrics, but the great pleasure comes in getting that part done, getting out my slow stitching tools (needle, many threads and yearns, beads, ribbon, and trim) and adding the icing on the cake.
   In that vein, here is my process in creating this 12" x 12" work called "Bird's Eye View" which, after about two months, is still a work in progress.  It started with these two pieces of fabric. I then layered them over batting and over a piece of plain white cotton for the backing.


This photo below was taken in December. The edges are still raw and some of the batting is showing. The bird was added later when I decided it needed a focal point, drawn on in pencil then outline stitched in black thread on my sewing machine. I went around him two or three times so that the stitches would have a sketchy look to them. Eventually, I'll embroider an eye using a French Knot.


Lets back up, though, and start with two separate photos I took about two years apart. The first was taken of some grasses north of Lubbock alongside the little river that runs under a wooden tressle bridge through the Lubbock lakeside area and down into MLK park. I took it on my basic Nikon camera and Photoshopped it to a black and white image so I could see all the textures.
The second photo was taken on my cell phone at a friend's house out in the country south of Wollforth. Eventually, I turned it to black and white also. And cropped out the car.


 Both of these photos were printed out from my computer onto a sheer fabric called Extravorganza. If you look back at the work in progress above you can see both of them layered over the fabric on top of each other.


Here's another example of how that works. A photo I took on my cell phone of wildflowers in my yard last Fall, colour enhanced a bit in editing.


Here is the photo printed out on Extravorganza. It is pale and transparent.


Here it is layered on the same fabric as the grasses photos. Since it is printed in colour it  looks a bit dull and brown on that print fabric and would probably show up better on a different one.

And here it is on a pink dyed fabric with a bit of turquoise stitched to it. I still don't know what to do with it, but it will definitely be defined and embellished to pop out..


So that's the idea. Computer technology has allowed me to use photographs and even scans of my own art to layer onto fabric and stitch it. The possibilities are endless.
Here's a painting I did of three sparrows:

And here's the left sparrow printed out on Extravorganza and quilted to fabric, then embroidered and beaded:


But I digress. Meanwhile, I continue to add on the Bird's Eye View work a stitch at a time and a bead at at a time. Yes, the bird is machine stitched, as are many of the grass lines, and the sky, but in order to capture the texture of grasses and earth I continue to slow stitch my way to the finish line.


And sometimes the back is almost as interesting as the front.


Tuesday, December 29, 2015

Winter Comes

It's been two months since my last post, going from this:


To this: The blizzard, Goliath. And we are still snowed in.


But it was a merry Christmas with family and friends.


  Glenn just wanted to read after all the cooking he did.

See you all in 2016. I hope to be a bit more diligent with posts. Art, dance, life. And food for thought.


Friday, October 30, 2015

A Minor Distraction

I was browsing Michael's craft shop, as I tend to do, when I spied these wooden tags in the scrap booking section. I'd come to buy frames and mats for my paintings, armed with discount coupons, but my brain went off in a different direction. As it tends to do.
 I've made tags before, both from fabric, and scraps of watercolour paper, but these sturdy little boards were quite enticing. I covered them in various colours of Golden acrylic paint, adding a few drops of metallic gold or silver paint to each hue to give a light shimmer as it soaked into the wood. Then I added stenciling and stamping to make background textures.

From there I found images of birds (and butterflies and bees) to begin painting, outlining each first in black ink, then layering paint. sometimes opaque and sometimes transparent.
Here is the beginnings of a bee landing on a flower.
And here are finished tags, with additional accents, silk ribbon ties, and a few layers of glossy Modge Podge to seal them.


I am still in the process of making more. They will be on display at the Artist's Studio Tour next month, and are currently on my Etsy page as well.

Friday, October 9, 2015

Glorious Silk

Silk is a wonderful fiber, lustrous, incredibly strong, and one of the most dye-receptive fabrics in the world. It's also made, not from a plant, but from the cocoon of a silkworm, hoping to turn into a moth.


These cocoons unravel into yards and yards of fine filaments of silk ready to be spun.


 Here's our little friend chowing down on a mulberry leaf.


That little creature produces threads that are dyed then turned into yarns and fabric, often woven into saris in India.


 I am at the other end of that long chain of production. All I did was buy a fairly inexpensive bundle of leftover silk ends from the looms that make the sari cloth. They came to me looking like this:


I sorted them into colour ranges then carefully dampened and ironed each strip.

Next I got a packet of paper backed fusible sheets and laid out the strips of silk on them.
When the sheet was covered I fused the silk strips with a hot iron to the backing and removed the paper so the back side could be fused to another piece of fabric.
Another colour variation:

At this point the prep work is done and the sheets of silk are ready to be stitched, embroidered, beaded, and cut.

                                        Here are a few pieces that I have embellished. I basically do running stitches, french knots, lazy daisies, blanket stitches, cross stitches, whip stitches, and any other stitches that I remember from my crafty background. I love being completely improvisational in this part.


I have made a few wrist cuff. This shows the various stages, from cutting the silk strips to stitching, to embroidering and beading.

I have cut some pieces into leaf shapes and stitched them on wool for later projects.

I have used whole fused strips as a background, as in this small skull for a Day of the Dead work. The skull was hand carved on a lino block and printed onto linen, then stitched and beaded.

A finished cuff:


This will be stuffed and made into an art doll.

Sometimes just a strip adds colour and energy to a small artwork (still in progress).


My big project from all these strips is a wall hanging I have created for the Buddy Holly Center's Day of the Dead exhibit, Celebracion. It is 19" x 23" and is called Healing Heart. It will be in a show going up next week and hanging through November. The pink section on the left is from a jacket I made in 1989 and cut up for re-purposing. I also used some brocaded silk trim that was given to me in the 1970's by Glenn's grandmother. Never throw silk away!

When do I have time to do all this hand embroidery and beadwork? Why when I'm sitting on the couch in the evening, watching Miss Fisher's Murder Mysteries. The perfect backdrop to these gorgeous colours. I mean, have you seen her wardrobe?